Easy Butterfinger Rice Krispie Treats Recipe
Butterfinger Rice Krispie Treats take that childhood favorite and inject it with the unmistakable crunch of a Butterfinger bar. These aren’t just any Rice Krispie treats; they’re an upgrade that brings a satisfying peanut butter and chocolate flavor into every chewy bite. I love making these when I need a quick, nostalgic dessert that feels a little more special than the original. The combination of crispy cereal, gooey marshmallow, and those shattered Butterfinger pieces is pure magic. They are surprisingly simple and come together fast, making them perfect for last-minute cravings or when you need a crowd-pleasing treat that’s always a hit. The secret to getting that perfect texture is to move quickly once the marshmallows are melted, so have your Butterfinger pieces chopped and your pan prepped.
Ingredients:
- 12 ounces marshmallows (about 5 cups mini marshmallows)
- 3 tablespoons unsalted butter
- 1/2 cup creamy peanut butter
- 6 cups Rice Krispies cereal
- 4 ounces semi-sweet chocolate chips, melted
- 1/2 cup chopped Butterfinger bars
Cooking Instructions:
First things first, get your pan ready. You’ll want a 9×13 inch baking pan. Grease it really well. I like to use a combination of butter or cooking spray, and then maybe even a little parchment paper. If you use parchment, leave some overhang on the sides so you can lift the whole block out later – this makes cutting so much easier. Set that aside. Now, grab a large, microwave-safe bowl or a heavy-bottomed saucepan. If you’re using a saucepan, melt the butter over low heat. If you’re using the microwave, add the butter to t
Butterfinger Rice Krispie Treats
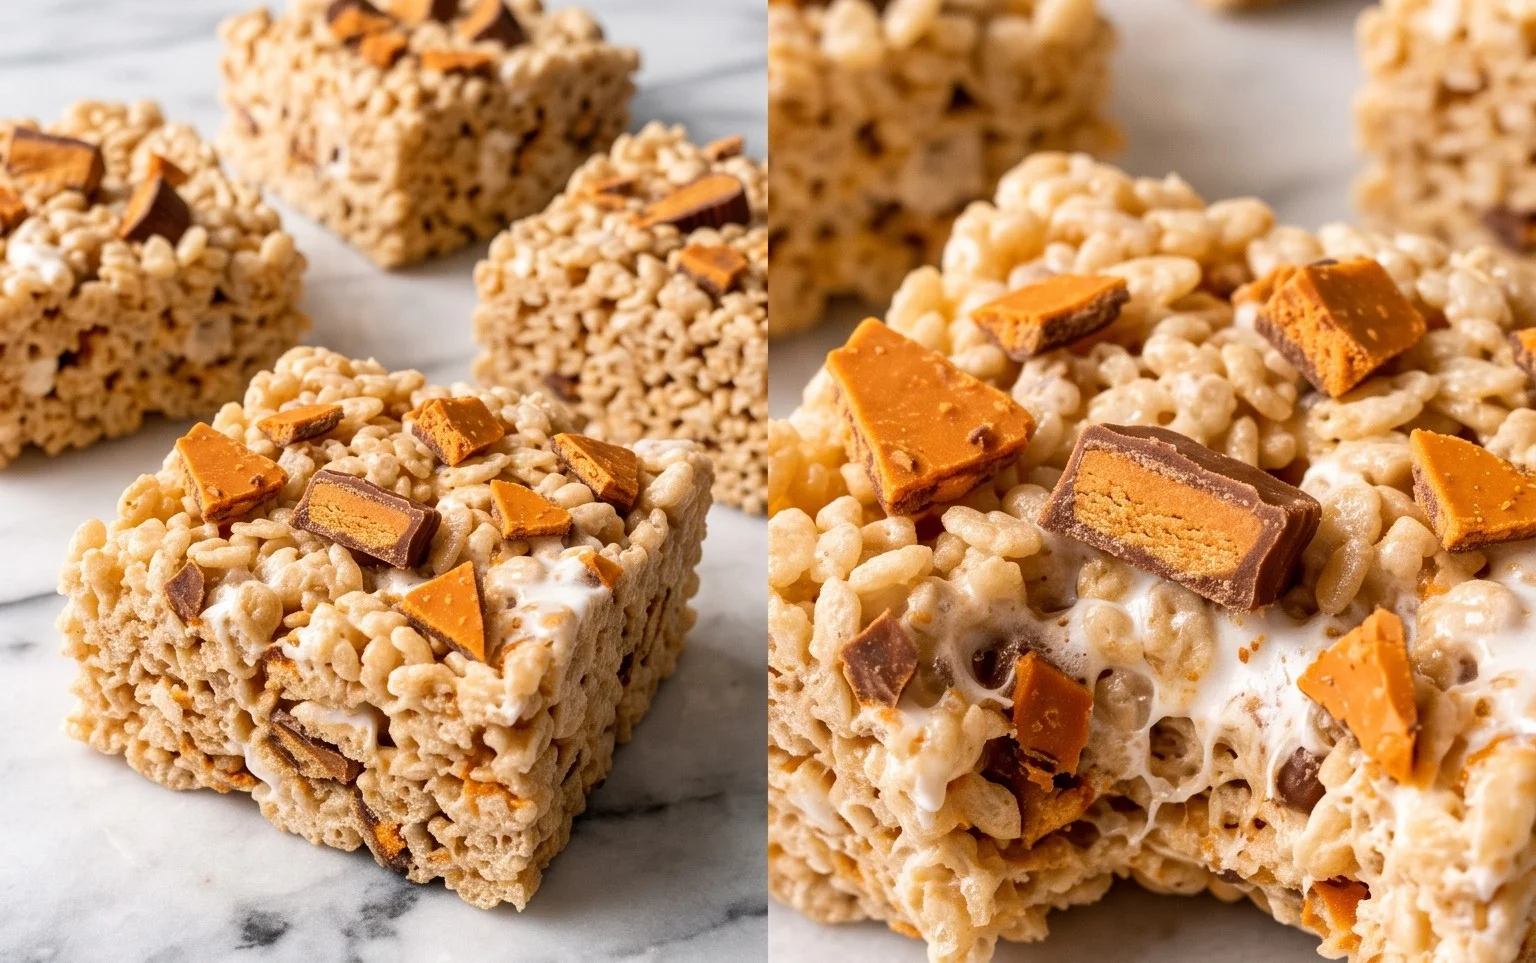
These aren’t your average Rice Krispie treats. We’re taking that classic, gooey, crispy goodness and giving it a serious upgrade with the unmistakable crunchy, peanut-buttery, chocolatey shatter of Butterfinger bars. If you love the combination of crispy cereal, melted marshmallow, and that signature candy bar crunch, this recipe is for you. I find myself making these whenever a craving hits for something nostalgic but with a fun twist. They’re surprisingly simple to whip up, making them perfect for an impromptu treat or a guaranteed hit at any gathering. The key is to work relatively quickly once the marshmallows are melted, so have everything measured and ready to go.
Ingredients:
- 12 ounces marshmallows (or about 5 cups mini marshmallows)
- 3 tablespoons unsalted butter
- 1/2 cup creamy peanut butter
- 6 cups Rice Krispies cereal
- 4 ounces semi-sweet chocolate chips, melted
- 1/2 cup chopped Butterfinger bars
Cooking Instructions:
First things first, get your pan ready. You’ll want a 9×13 inch baking pan. Grease it really well. I like to use a combination of butter or cooking spray, and then maybe even a little parchment paper. If you use parchment, leave some overhang on the sides so you can lift the whole block out later – this makes cutting so much easier. Set that aside. Now, grab a large, microwave-safe bowl or a heavy-bottomed saucepan. If you’re using a saucepan, melt the butter over low heat. If you’re using the microwave, add the butter to the bowl and microwave in 30-second intervals, stirring in between, until it’s completely melted. Be careful not to scorch it.
Once the butter is melted, add the marshmallows. If you’re using large marshmallows, cut them into smaller pieces to help them melt more evenly and quickly. Stir them into the melted butter, and continue to heat gently (either on low heat on the stove or in the microwave in 30-second bursts) until the marshmallows are completely melted and smooth. This is where the magic starts to happen. Keep stirring continuously to prevent sticking and burning. Once you have a smooth, gooey, marshmallow mixture, remove it from the heat or microwave.
Now for that essential peanut butter flavor. Add the 1/2 cup of creamy peanut butter to the melted marshmallow mixture. Stir it in thoroughly until it’s fully incorporated and you have a luscious, slightly swirled peanut butter and marshmallow concoction. The heat from the marshmallows will help the peanut butter become nice and smooth. This step adds a wonderful depth of flavor and a slight chewiness that complements the crispy cereal perfectly. Make sure there are no pockets of unmixed peanut butter left; a good stir ensures consistent flavor throughout your treats.
It’s time to add the Rice Krispies cereal. Pour the 6 cups of Rice Krispies cereal into the large bowl with the peanut butter and marshmallow mixture. You can also do this directly in the saucepan if you used one. Gently fold the cereal into the gooey mixture using a rubber spatula or a sturdy wooden spoon. The goal is to coat every single crispy piece of cereal with the marshmallow and peanut butter mixture. Work quickly but carefully, as the mixture will start to set up as it cools. Make sure all the cereal is incorporated; you don’t want any dry clumps.
This is where the Butterfinger comes in! Sprinkle about half of the chopped Butterfinger pieces over the cereal mixture. Gently fold these in as well. You want to distribute them throughout the treats, but don’t overmix, or you might break them down too much. You want discernible chunks of Butterfinger in every bite. Once the cereal and half the Butterfinger are mixed in, carefully transfer the entire mixture into your prepared 9×13 inch baking pan. Use your greased spatula or your hands (lightly greased or dampened with water to prevent sticking) to press the mixture evenly into the pan. Don’t press too hard, or your treats will be dense and hard. A gentle, even press is all you need.
For the final touch, drizzle the melted semi-sweet chocolate chips over the top of the pressed treats. You can do this with a spoon or put the melted chocolate in a piping bag with a small tip for a more controlled drizzle. Immediately sprinkle the remaining chopped Butterfinger pieces over the melted chocolate. The chocolate will help the Butterfinger pieces adhere to the top. Let the treats sit at room temperature for at least 1 hour, or until the chocolate has set completely. For a quicker set, you can place the pan in the refrigerator for about 15-20 minutes, but be aware that refrigerating can sometimes make Rice Krispie treats a little harder.
Once the chocolate is set and the treats have cooled sufficiently, you can cut them into squares. If you used parchment paper with overhangs, it’s super easy to lift the whole block out of the pan before cutting. Use a sharp knife that’s been lightly greased or dipped in hot water and dried to get clean cuts. Store your Butterfinger Rice Krispie treats in an airtight container at room temperature for up to 3 days. They are best enjoyed within the first couple of days when they are at their chewiest and crispiest.
Conclusion:
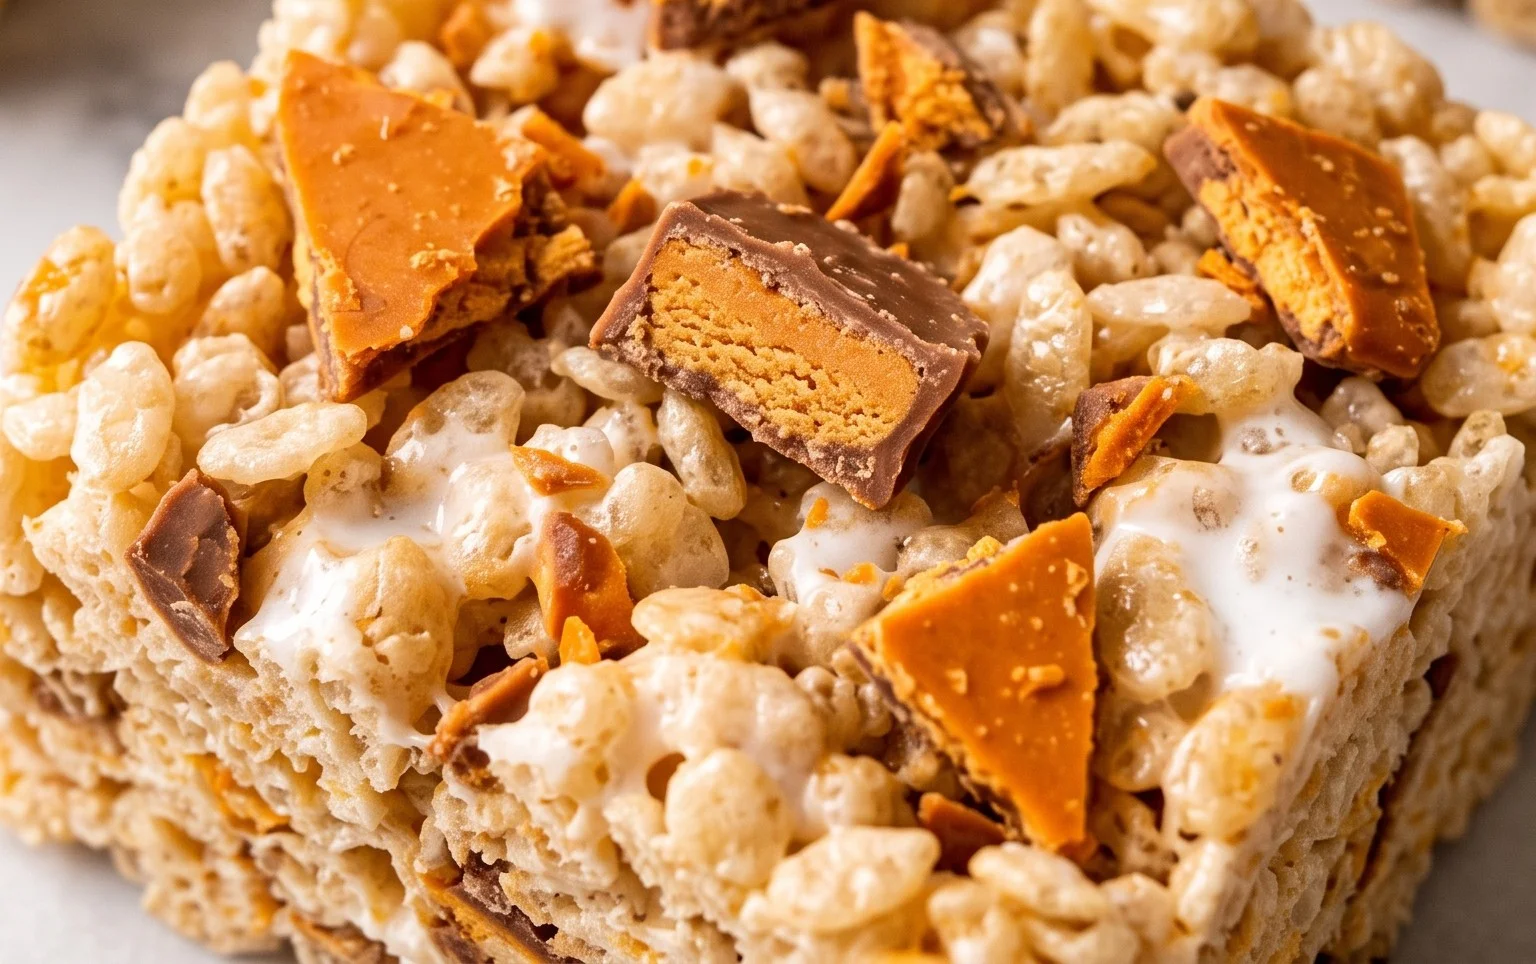
These Butterfinger Rice Krispie Treats are a fantastic way to remix a classic. They deliver that familiar gooey, crispy texture but with an added layer of peanut buttery, chocolatey crunch that makes them irresistible. They’re simple enough for a weeknight treat but special enough to bring to any party or potluck. Don’t be afraid to get creative with them! They hold up well and are always a hit. I find they disappear almost as fast as I make them.
Serving Suggestions:
These treats are wonderful on their own, served at room temperature. You can also drizzle them with a little extra melted chocolate or a bit more peanut butter before they set for an even more decadent finish. They pair nicely with a cold glass of milk.
Variations:
For an extra layer of flavor, you could try adding a tablespoon of peanut butter powder to the melted marshmallow mixture. You could also swap the semi-sweet chocolate chips for milk chocolate or even dark chocolate. Chopped peanuts can be added along with the Butterfinger for extra nuttiness. Experimenting with different crispy rice cereals can also yield fun results.
FAQs:
Can I use crunchy peanut butter?
Yes, crunchy peanut butter works just fine. It will add even more texture to your treats. Make sure to measure it the same way you would creamy peanut butter.
How should I store Butterfinger Rice Krispie Treats?
Store them in an airtight container at room temperature for up to 3 days. If you stack them, make sure to place parchment paper or wax paper between layers to prevent sticking.
Can I make these ahead of time?
Absolutely. They hold up very well and are a great make-ahead treat. Just be sure to store them properly in an airtight container once they have cooled completely.
Butterfinger Rice Krispie Treats
A delicious twist on classic Rice Krispie treats, loaded with the irresistible crunch and peanut butter-chocolate flavor of Butterfinger candy bars.
Ingredients
-
12oz marshmallows
-
3 tablespoons unsalted butter
-
1/2 cups creamy peanut butter
-
6 cups Rice Krispies cereal
-
4oz semi sweet chocolate chips
-
1/2 cups chopped Butterfingers
Instructions
-
Step 1
In a large microwave-safe bowl, combine the marshmallows and butter. Microwave on high for 1-2 minutes, stirring every 30 seconds, until completely melted and smooth. -
Step 2
Stir in the creamy peanut butter until well combined with the melted marshmallow mixture. -
Step 3
Add the Rice Krispies cereal and stir gently until evenly coated. -
Step 4
Fold in the chopped Butterfingers. -
Step 5
Press the mixture evenly into a greased 9×13 inch baking pan. -
Step 6
Melt the semi-sweet chocolate chips according to package directions (microwave or double boiler). Drizzle melted chocolate over the top of the treats. -
Step 7
Let the treats cool completely before cutting into squares.
Important Information
Nutrition Facts (Per Serving)
It is important to consider this information as approximate and not to use it as definitive health advice.
Allergy Information
Please check ingredients for potential allergens and consult a health professional if in doubt.